How to set up website staging for WordPress

When you’re developing a website, you have a few options. You can make any changes in a live environment which is all kinds of wrong. You can use a self-hosted solution such as your own development server or use solutions such as Xampp or Local by Flywheel. There is also a third way, website staging.
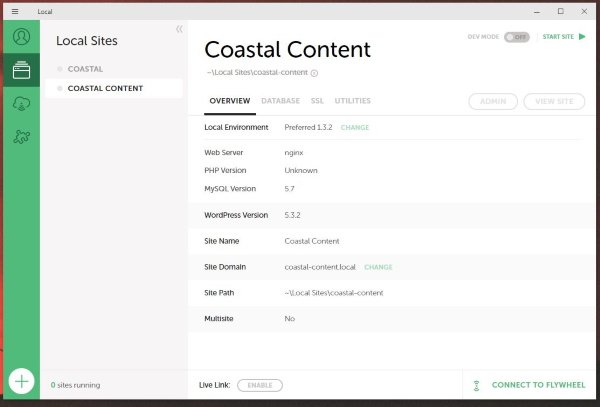
As a small business, I don’t have the resources to employ a web designer to build my websites. Instead, I have learned WordPress and use ThemeForest templates. I would use Xampp to create a local copy on my computer, make the changes I want to make and upload the site to my web host.
I have used Xampp for years. It’s a little fiddly to set up and use but is one of the best development platforms I could afford. I then discovered Local by Flywheel which is far superior in every way, except it could take an age to load. Even on my i7 with 32GB of RAM it would take Local by Flywheel up to 2 minutes to load the virtual machine. Not a showstopper by any means but still a pain.
These solutions were effective but took time. It was much safer than making changes in live though!
I won’t be doing that any more. Not since I discovered website staging. If you have web hosting or are planning to buy some. Website staging is the way forward.

Website staging
I will freely admit to being a latecomer to website staging. Even though I write about the web and internet technology every day, it isn’t something I have come across. It was only when I was researching how to upload a local copy of a WordPress website to live that I found out about it. From then I was converted.
When you buy web hosting, you buy disk space and access to the outside world. You get a single (or multiple) live environments where the general public can visit your website. Website staging creates a copy of your live website but keeps it private.
It’s like a shadow copy that only you can access. It mimics the live website exactly. It looks, feels and performs exactly the same. You can also create blank staging websites where you can upload designs, play around with the website however you like and make any changes you see fit without affecting the live website. That isn’t the best bit though.
Push to Live is.
Two reasons why website staging is the way forward
There are two reasons why I think website staging goes above and beyond what locally hosted development tools can.
1. Push to Live
Say you have a website that you have been working on forever. You have completed your work and are confident it looks and works as best it can. You’re completely happy with it and now want it to go live. Previously, you would have to export the database from the development site and import it to live. You would then have to test every link, check every image and go over the live site to make sure that database import worked properly.
No longer. Create and customize your website in staging and when you’re completely happy, back up your live website and then hit the Push to Live button.
The button does exactly what it says it does. It pushes the website you just spent time creating in staging to live. No fuss, no issues, no spending hours going over everything to make sure a database link didn’t get missed. Just a couple of minutes to switch positions with your old website and your new site is live.
2. A ‘live’ backup
Website backups are another onerous task we all have to do to protect what’s ours. I manage websites for clients as well as myself and managing multiple database backups is a challenge to say the least. Website staging adds a little extra power to your website security that could pay real dividends.
If you developed your website in staging and pushed to live, you have a fully operational copy of your website sitting in that stage. Should anything happen to your live site, should you get hacked or accidentally make a terminal change to live, you have a fully working copy ready to go. All you need do is hit Push to Live again and you’re golden!

How to use website staging
I use Namecheap as my host and they use cPanel at the back end. This makes short work of just about everything, including setting up website staging. As my experience is with this setup, I will obviously use that here. Your web host may use a different setup but the theory should be much the same.
Here’s how to set up website staging.
- Log into your cPanel as you normally would.
- Select your host’s app installer or select website staging.
- Select the live website you want to make a copy of.
- Select Create Staging or similar.
- Set a folder and any permissions to your new staging site.
- Allow the process to complete.
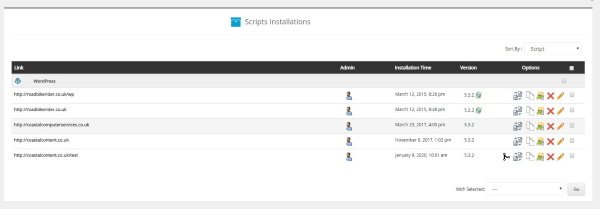
Namecheap uses Softalicious which is an app environment that includes staging. Your host may offer something different but the basic principles should be the same. You select the website you want to stage, create a copy of that site, set a folder to host that copy and the new staging URL will include that folder.
Use the new URL and log in using the same credentials you use to access your live website. Double check you are logged into the staging website and make any changes you see fit. That’s it!

Once you have finished development, make a full backup of your current live website and save that backup somewhere. Go back to Softalicious or whatever you used to create the staging site. You should see an icon beside the staged site called Push to Live. Hit that, wait for the host to copy the site across to live and you’re good to go.
Even though you don’t have to check every image and link, it makes sense to do it anyway. If you’re a small business like me or want people to get the right impression, you want to make sure the links, forms and everything works before people come to visit.
I am late to the website staging party but I am a complete convert. There is no database importing, no losing URLs, images or having to rewrite links and no depending on WordPress plugins to export a development site. Plus, you also have a fully operational live backup to your live site should the worst happen. All for free!
It’s hard to argue with that.


